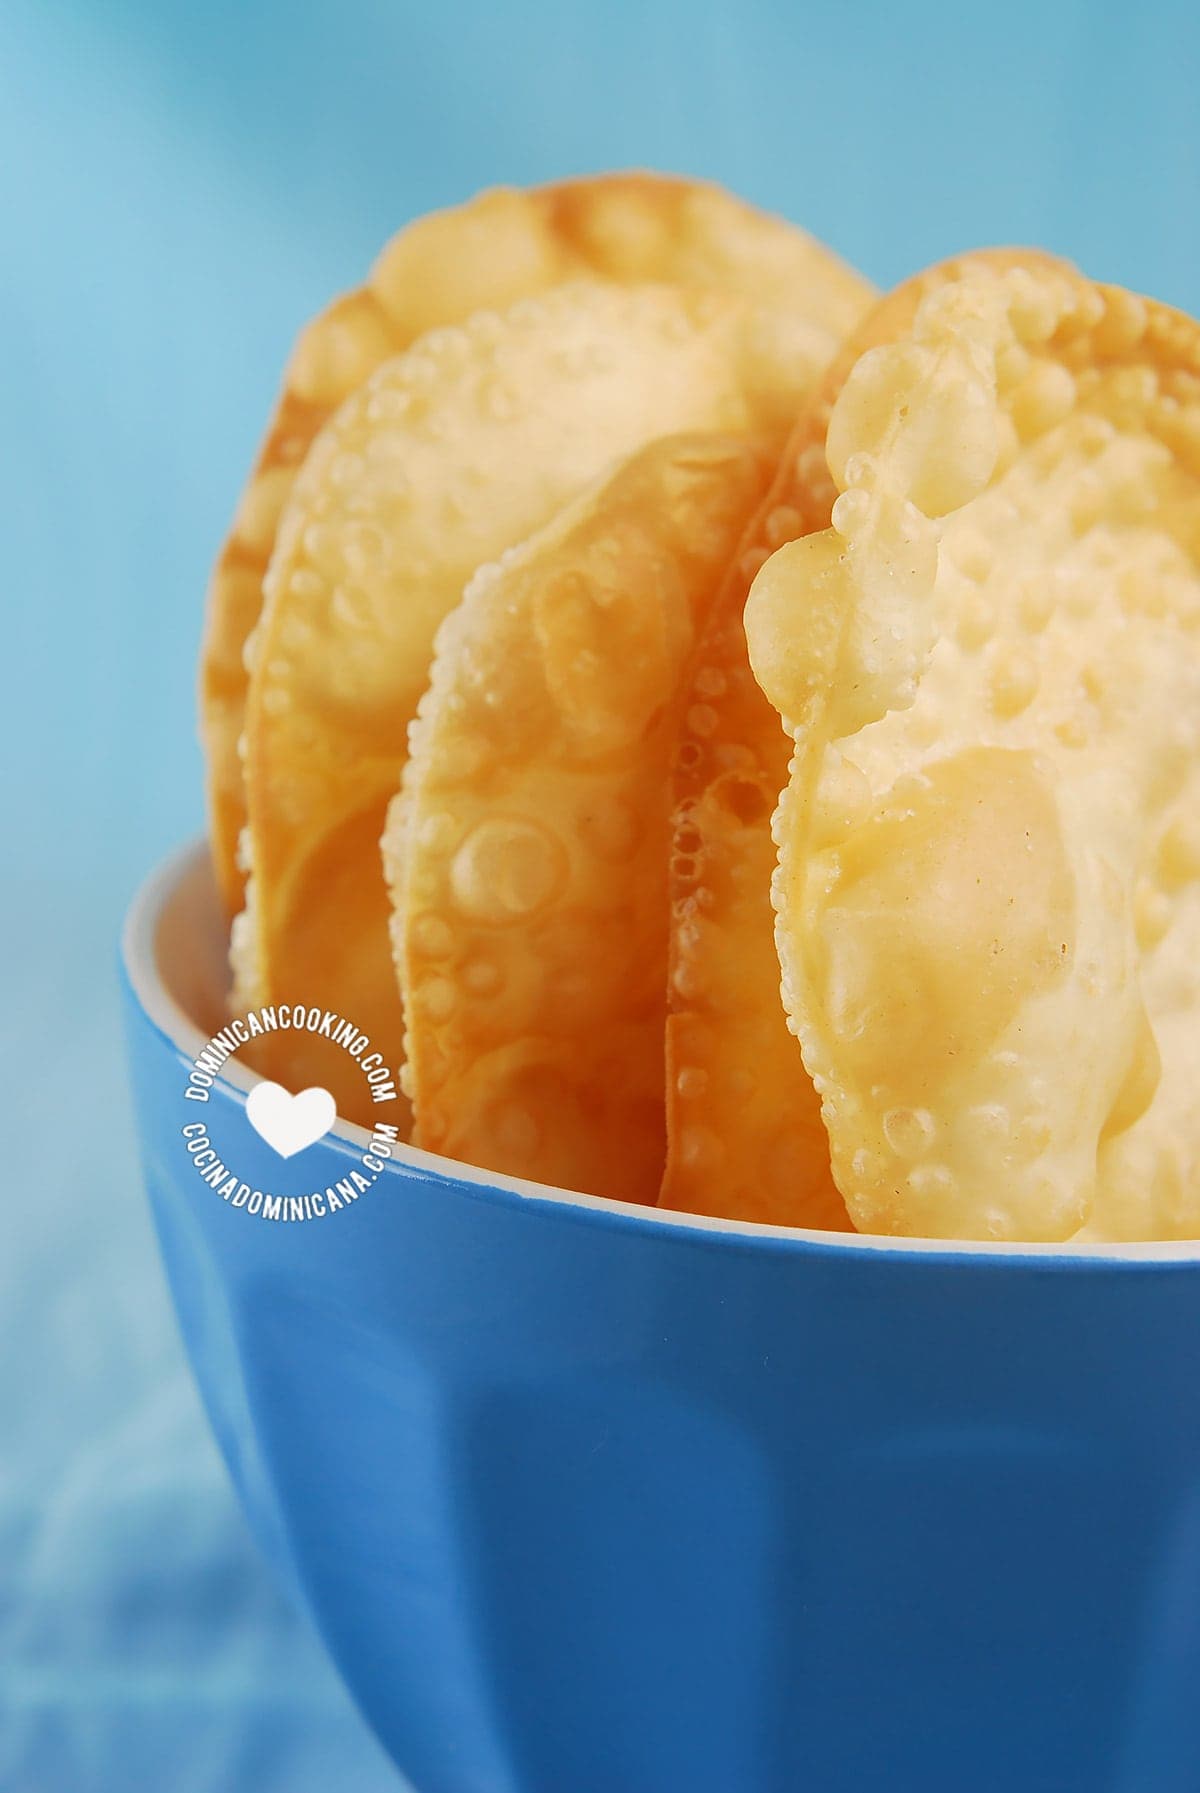
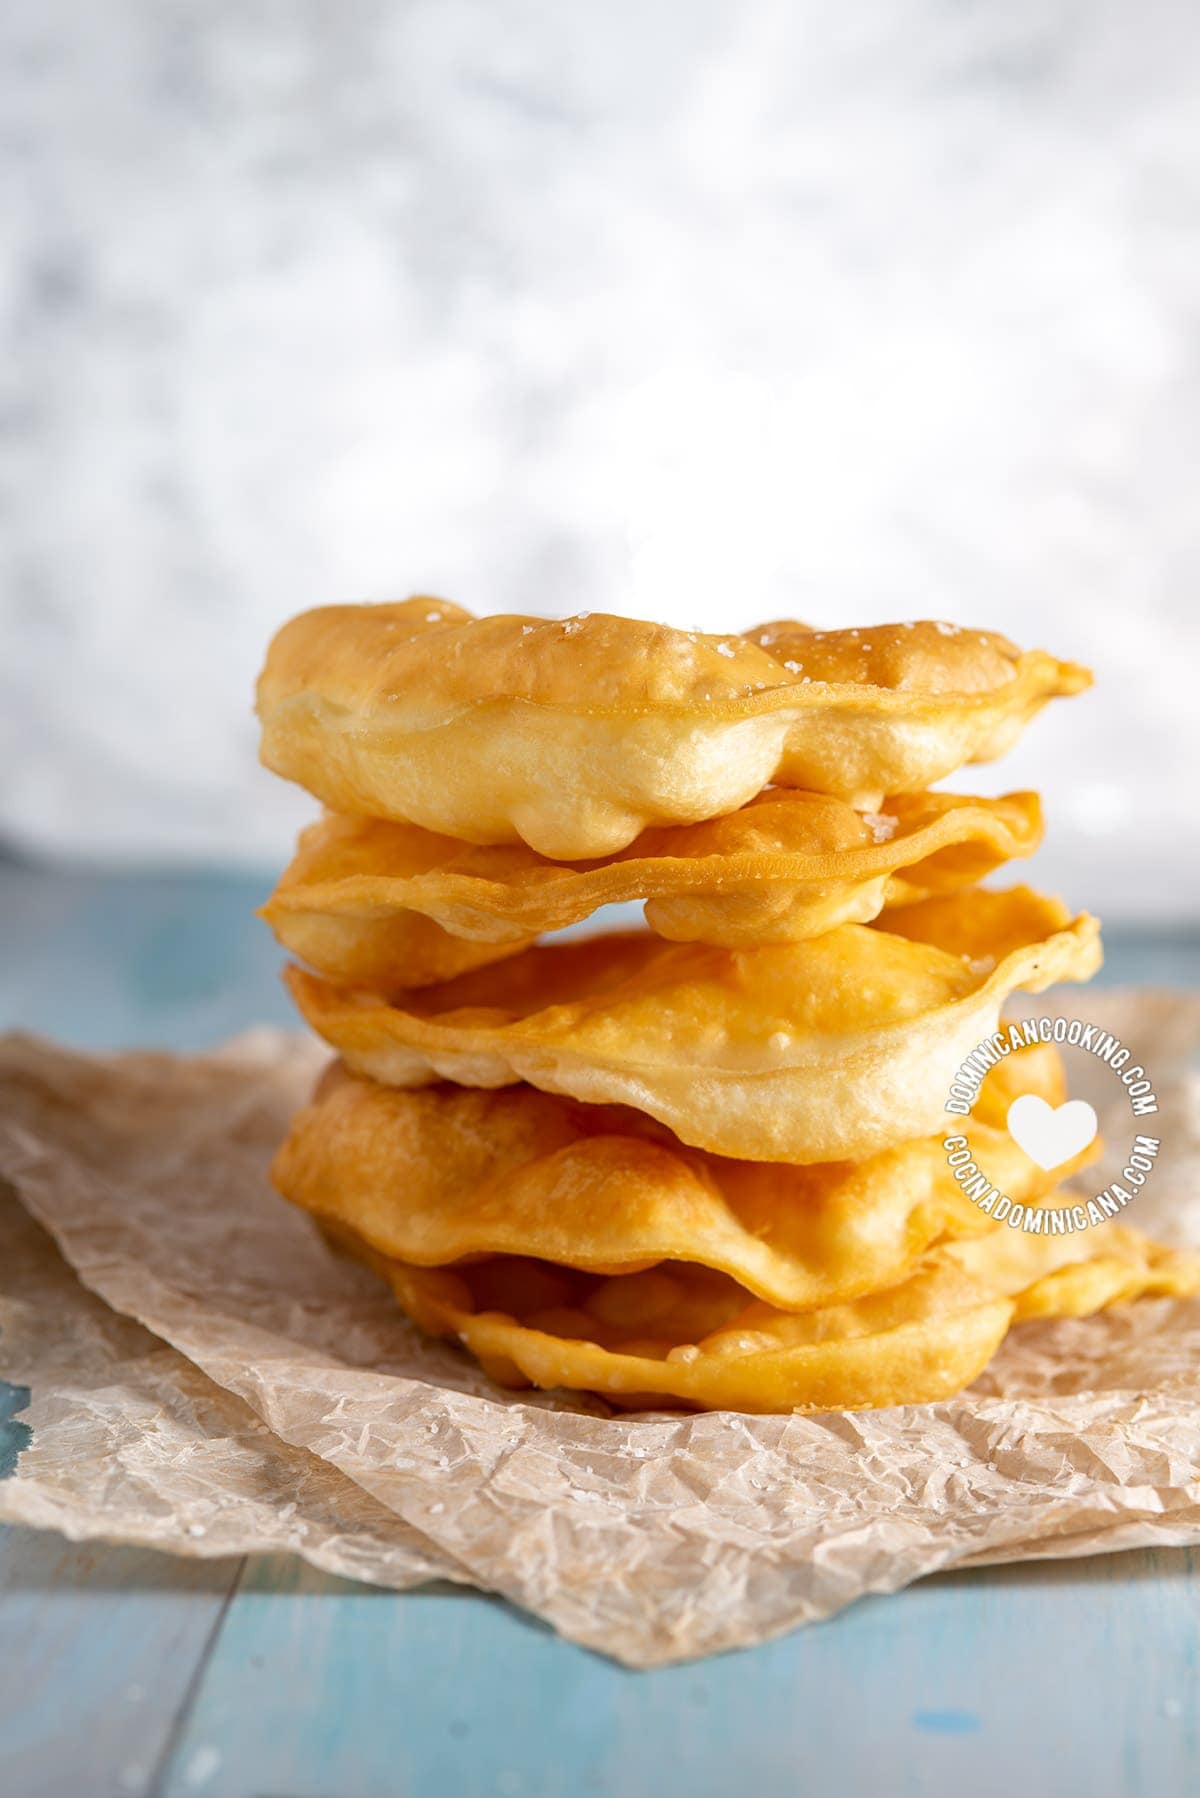
These delicious, crunchy, flaky, deep-fried Yaniqueque wonders are a must-have on a visit to Boca Chica, the popular Dominican beach.
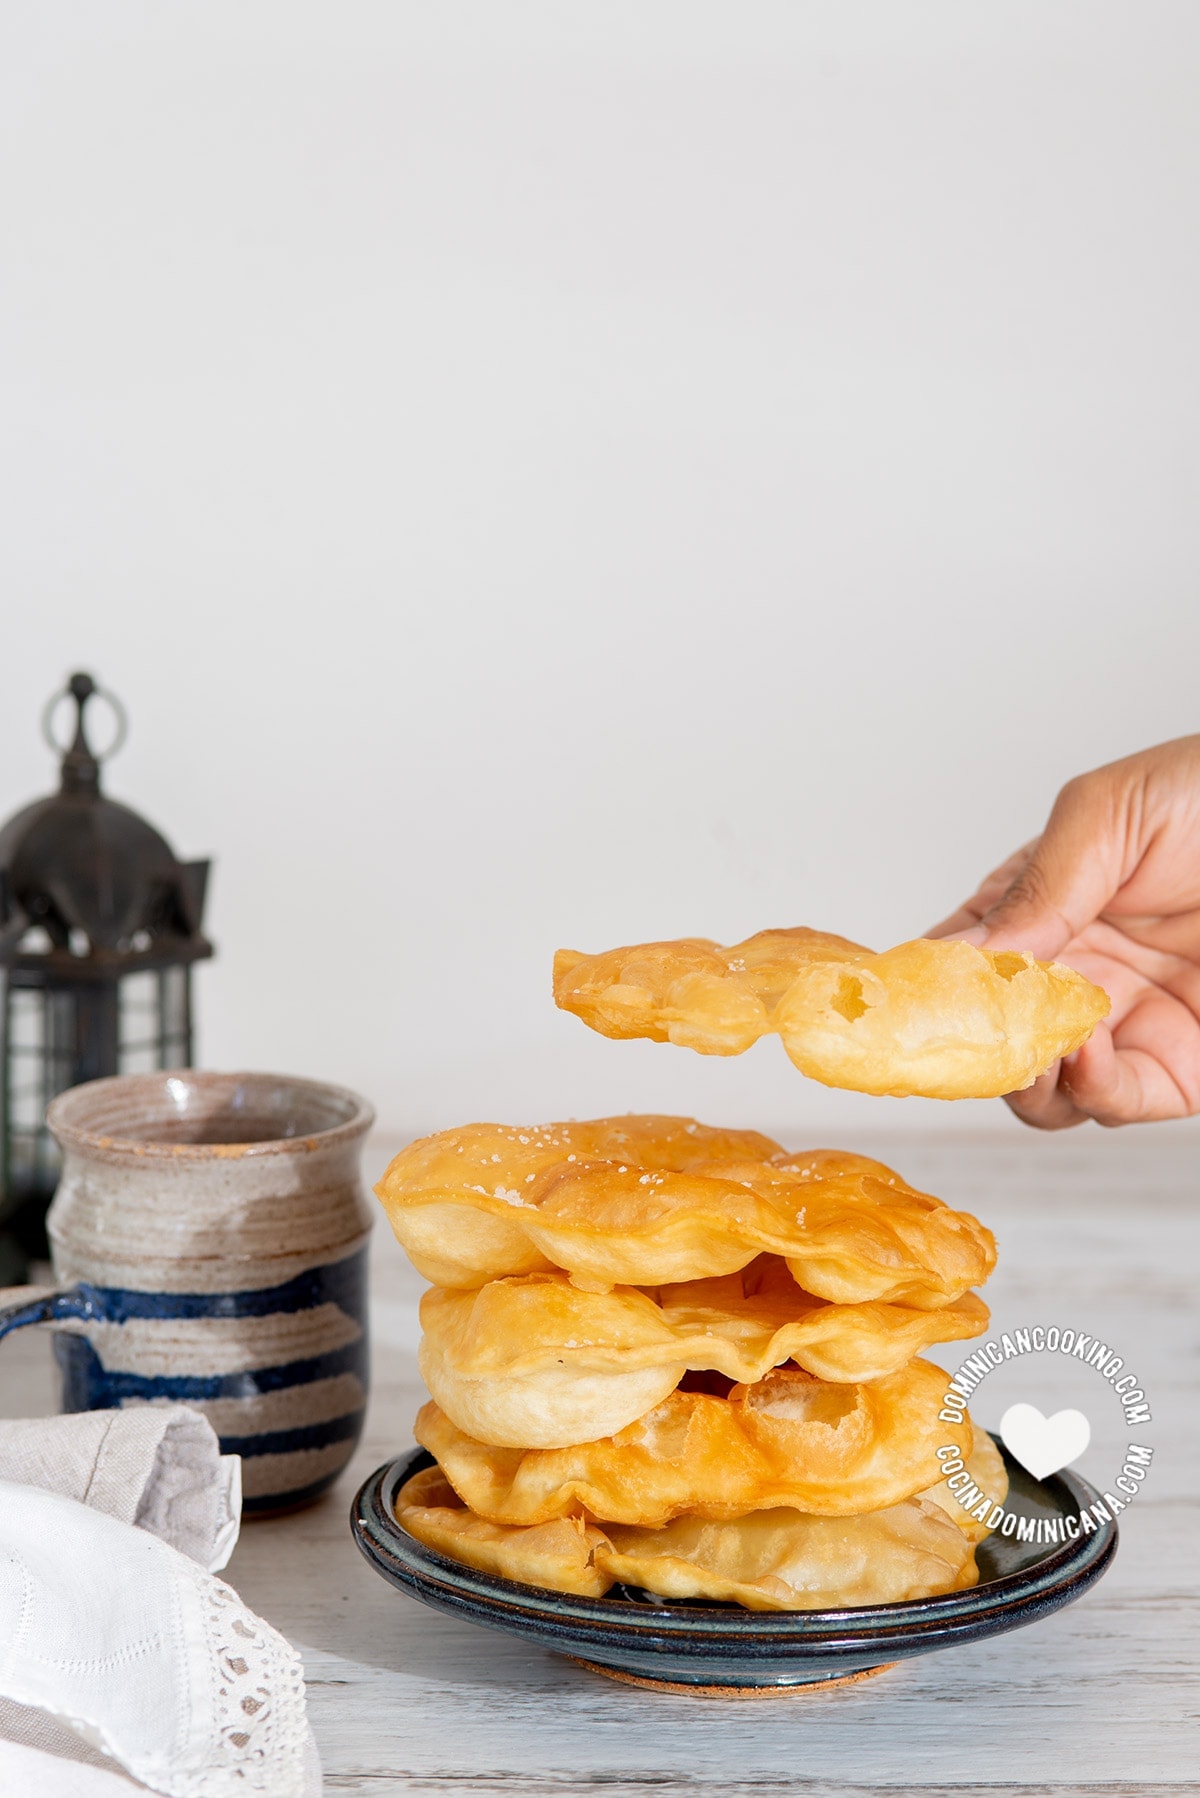
Why we ❤️ it
What is Yaniqueque, and where did it come from?
You know what? there seems to be a lot of theories and quite the disagreement. The most widely accepted theory is that it came from the British West Indies with Cocolo immigrants and that its name is a corruption of the name Johnny Cakes, a dish with which it shares very little in common.
Other equally argued-for theories exist. But I am not a food historian and I am comfortable accepting that the answers to these questions are not quite vital.
To further complicate things, this dish is known as "arepa" in some parts of the country, and "hojuela" in Samana, the North, and Northwest, where the more famous "Arepa" is known as "Torta".
Yaniqueque from Samana is something entirely different, and I won't touch upon that one here.
About our recipe
There are also several variations of the same dish throughout the island, This is the Yaniqueque Dominicano as I know it. There may be differences between regions, and even between homes, but they won't be too far from each other. If you have a different Yaniqueque recipe, I'd love to hear about it.

Recipe
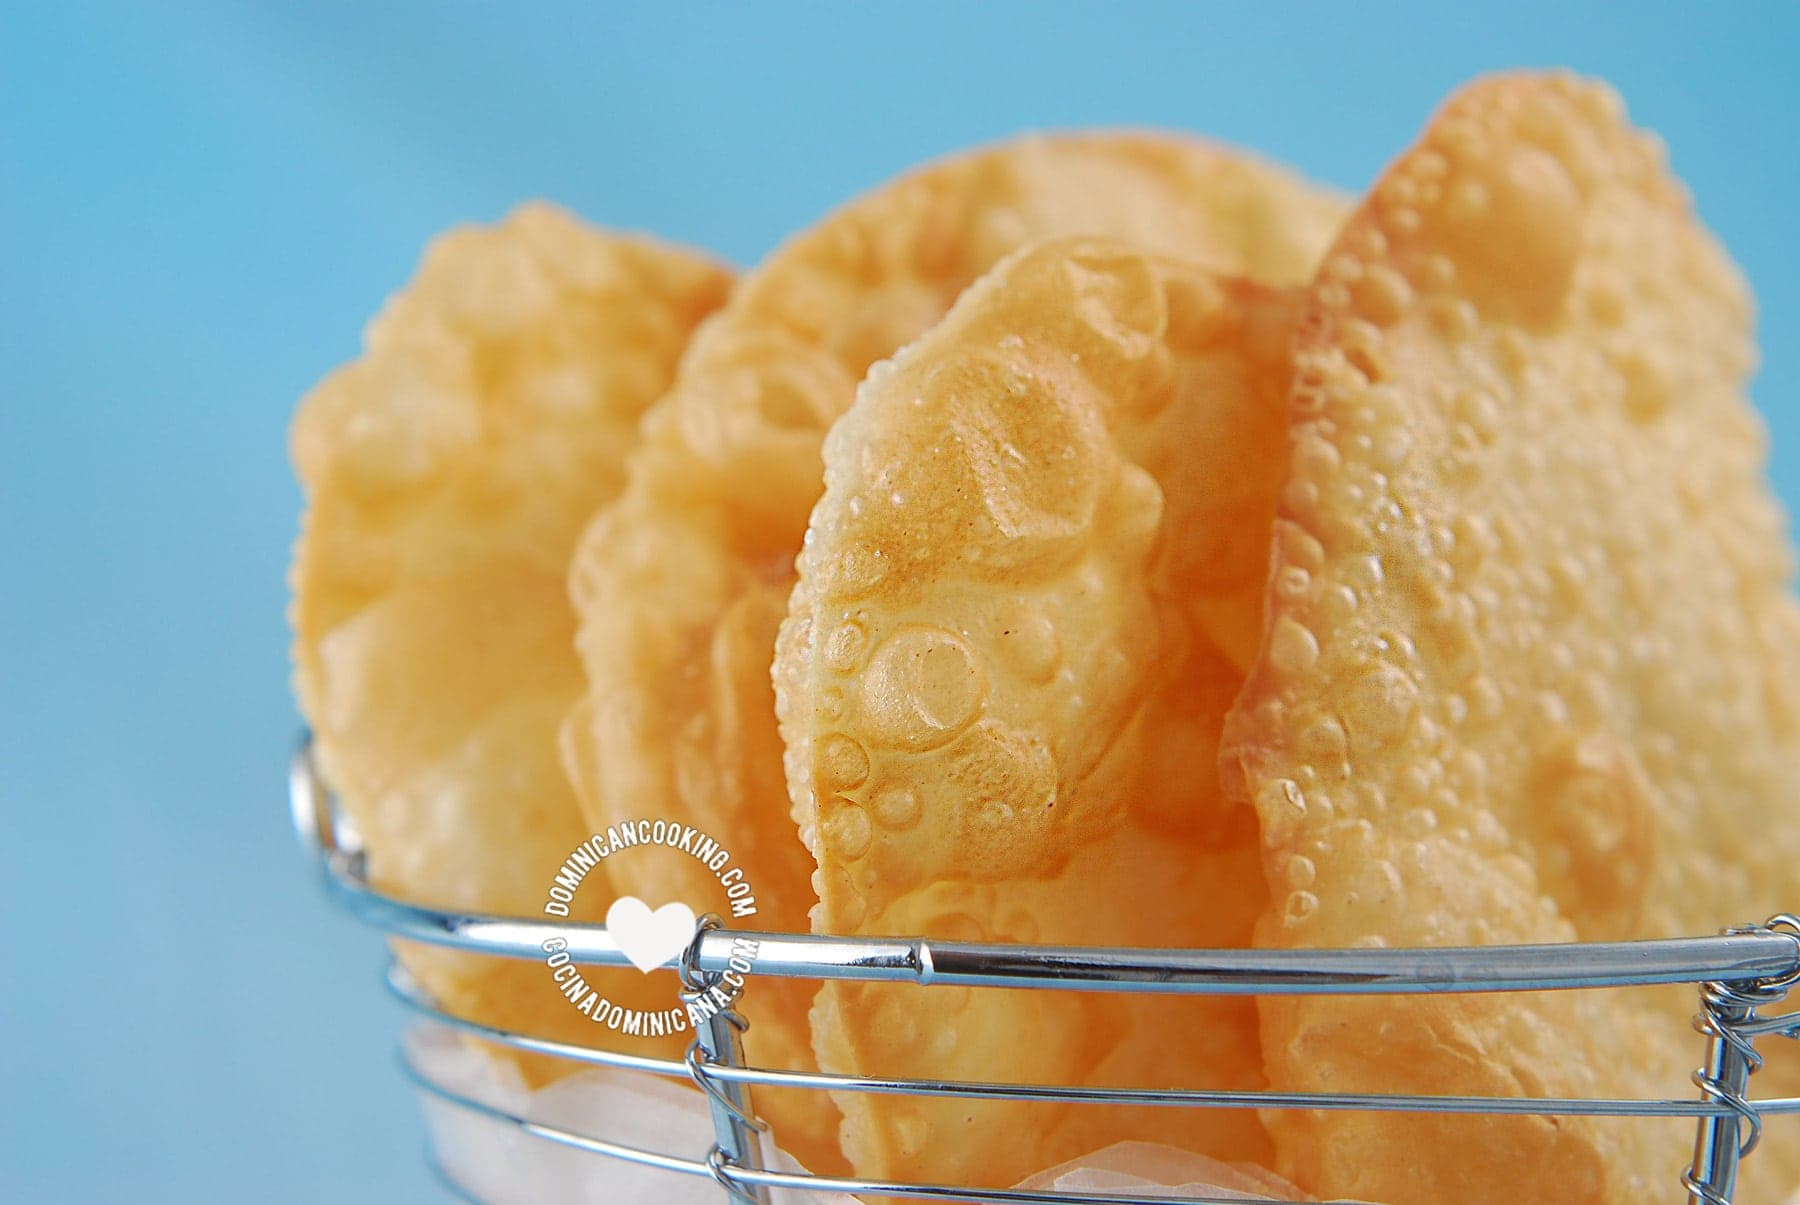
[Recipe + Video] Yaniqueque (Fried Crispy Johnny Cake Tortillas)
Ingredients
- 2 cup all-purpose flour, plus ¼ extra cup for working the dough and sprinkling on the counter(you might not use all)
- ¼ teaspoon baking powder
- ¼ teaspoon baking soda
- 1 teaspoon salt
- ¼ cup water
- 3 tablespoons vegetable oil, for the dough, can be the same type as below
- 2 cup oil for frying
- ½ teaspoon coarse sea salt, for sprinkling
Instructions
- Mix dry ingredients: Mix the flour, baking powder, baking soda, and salt.
- Make the dough: Mix flour with water and the oil for the dough and mix in. Work the dough on a lightly floured surface until everything is well mixed. You may need to add some flour if it is too sticky or a little bit of water if it is too dry. Don't knead the dough more than absolutely necessary to combine all the ingredients.Let dough rest for 10 min covered in plastic film.
- Roll out the dough: Divide the dough into 8 portions, and extend each with a rolling pin on a lightly floured surface until it is very thin, nearly translucent. The thinner it is, the crispier it will be. If the dough is sticking, dust with flour as it becomes necessary. For better looking yaniqueques, you may cut them into perfect circles using an empanada cutter, or a cup adn knife, this is optional.Cut a couple of small slits into the dough circles two 1-inch [2.5 cm] using a paring knife. If the circles are a bit misshapen when you lift them, don't worry, that's how they look when you buy from street vendors.
- Frying the yaniqueques: Heat oil over medium-high heat (350 ºF [175 ºF]). Fry the circles of dough, turning them halfway until they turn golden brown on both sides, rest on a paper towel to absorb excess oil.
- Serving: Sprinkle with sea salt to taste and serve.
Video
Tips and Notes
How to make Yaniqueques
Yaniqueques come in all sizes, from the LPs (those were some big disks which were popular before cassettes and CDs, for you whippersnappers) to little ones served with chocolate de agua for breakfast. Make yours in whichever size you like. I prefer mine about 4" [2.5 cm] in diameter as they are easier to handle.Nutrition
Nutritional information is calculated automatically based on ingredients listed. Please consult your doctor if you need precise nutritional information.


